Material Design Blog Theme
I created Material Design Blog theme as there is a lack of Jekyll Theme that uses the Material Design Lite framework, especially for blogging. This post will serve as a guide on the installation of the theme and showcase some of its features.
Setup Guide
Step 1: Setup your environment (Windows)
Go to the website to set up your Jekyll Environment
https://jekyllrb.com/docs/installation/windows/
- Download the Ruby+DevKit
- Run
ridk installat the last step of installation - Open CMD and run
gem install jekyll bundler - jekyll -v
Step 2: Clone the Material Design Lite Blog Theme
Use PowerShell and clone the Material Design Lite repository. Make sure your computer have ‘git’ installed.
git clone https://github.com/johnnymythology/material-blog-jp.git
Step 3: Install Gem
Run the following command to install the Gem required.
gem install material-blog-jp
bundle install
Step 4: Start the web server
Run the following command to start the web server:
bundle exec jekyll serve
Getting started
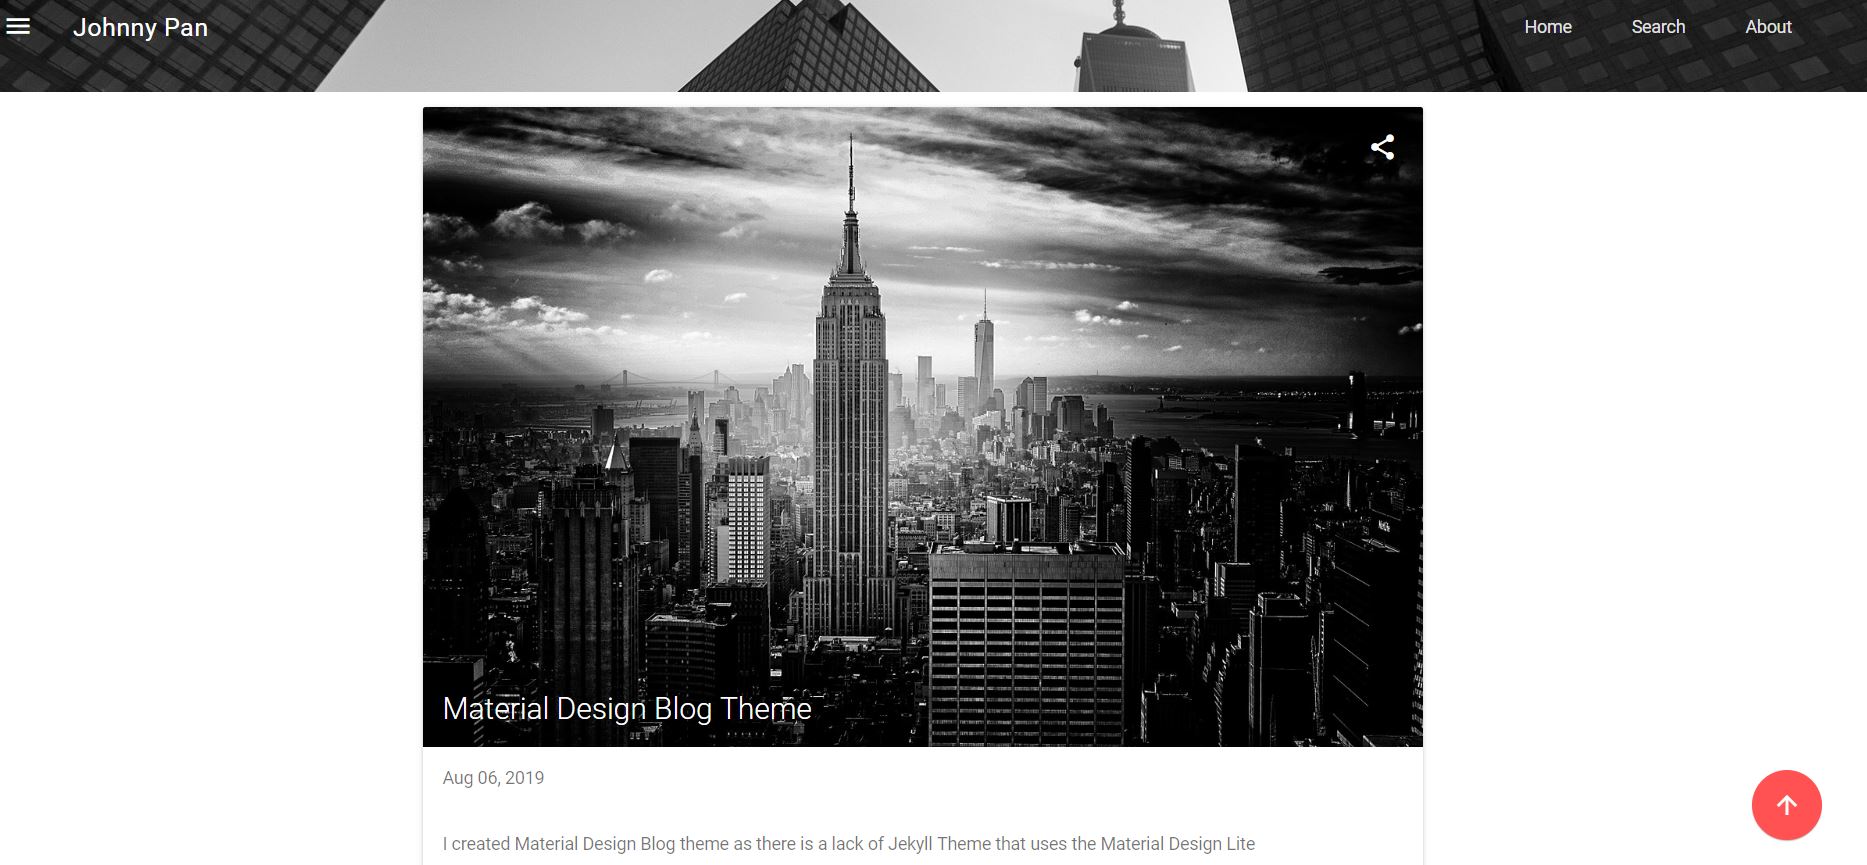
Index Page
Index page contains all the blog posts, showing the latest ones on top. The share icon will share the url of the blog post on Twitter. There is a red arrow button on every page. This allows the user to scroll to the top of the page. Change the title for the page in index.md
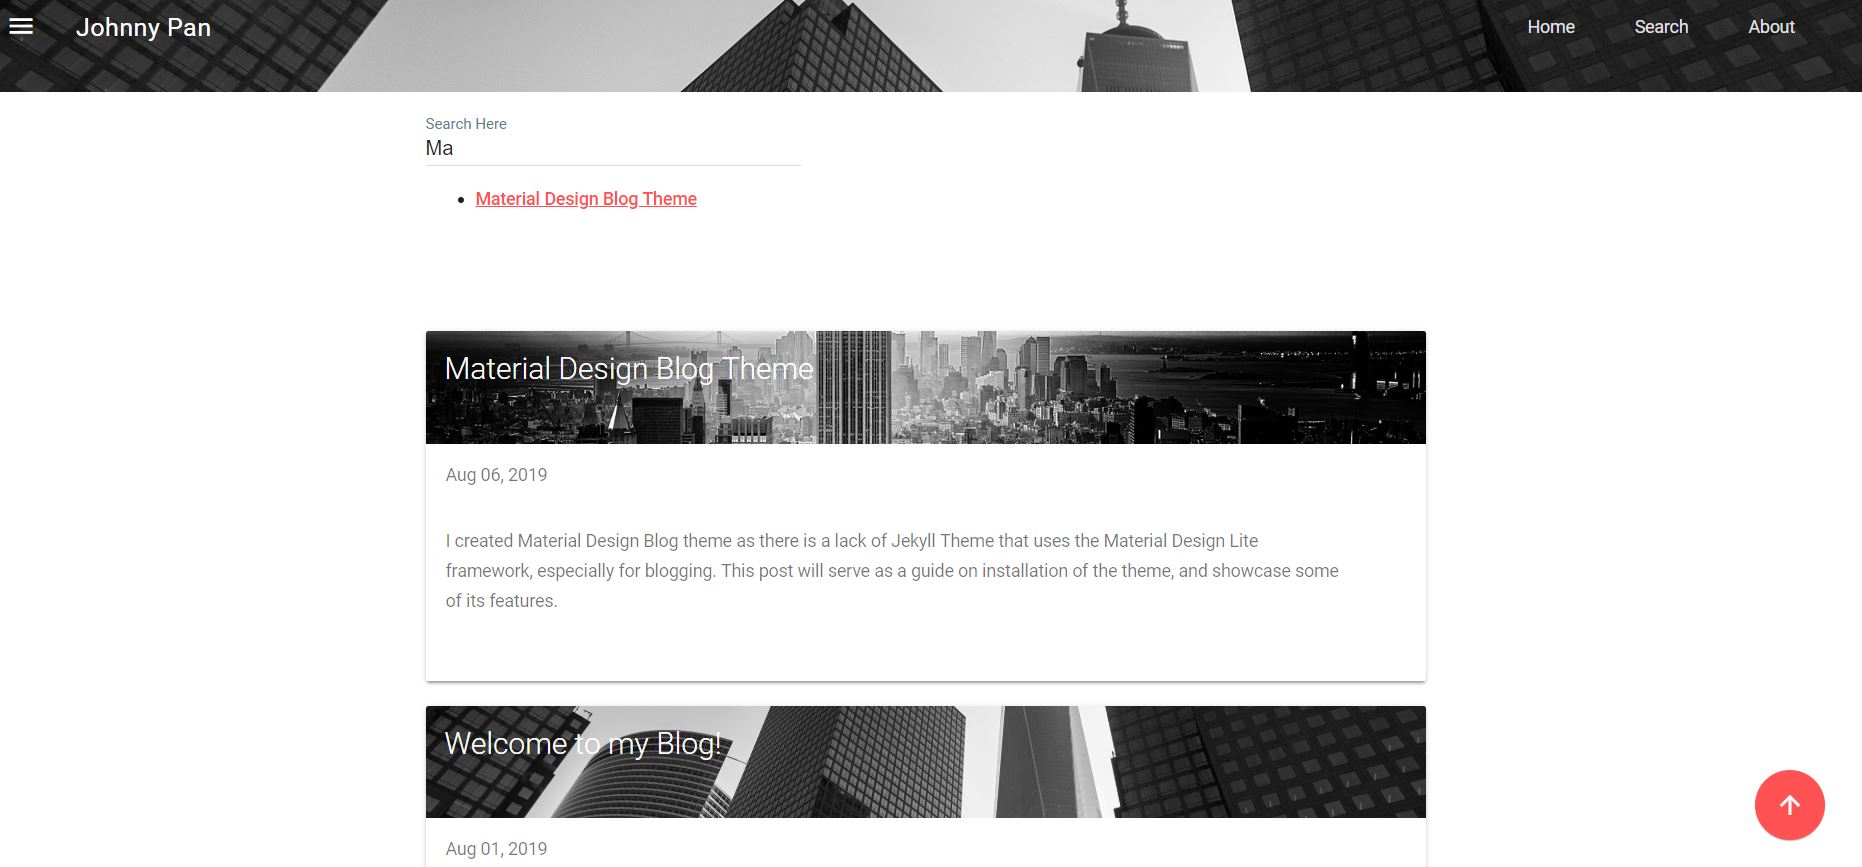
Search Page
Search allows the user to search for blog post using either the title, tags, categories or dates. When first loaded, it will display two of the latest blog posts. Change the title for the page in search.md
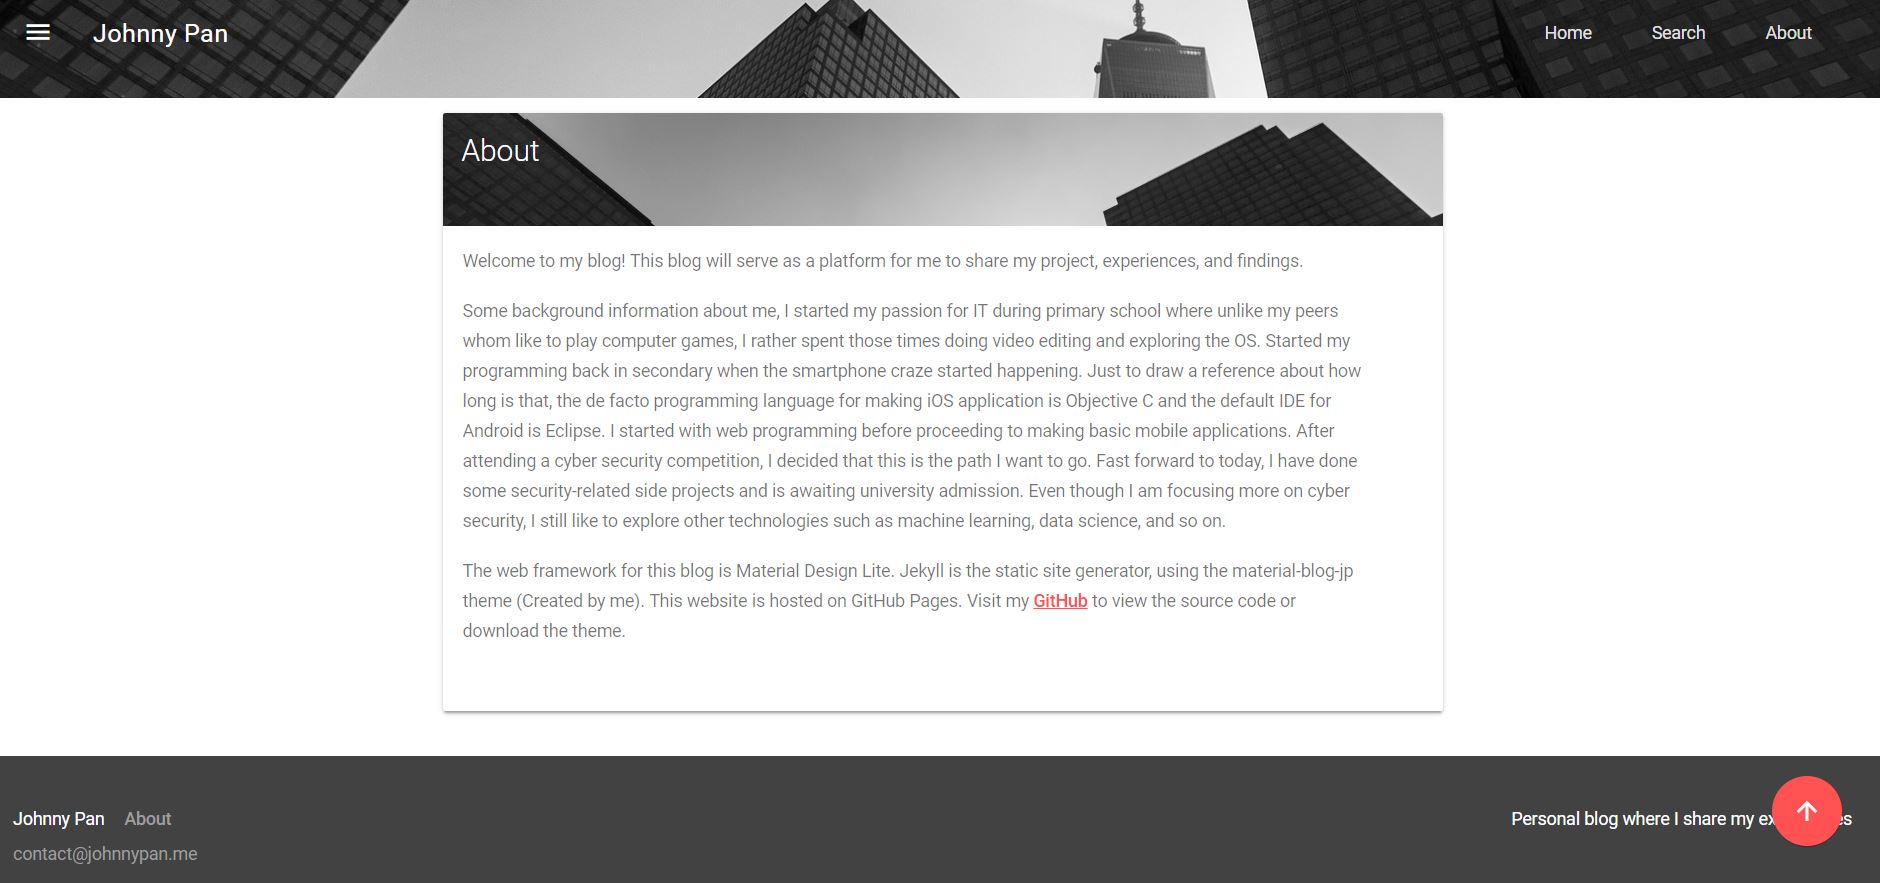
About Page
About page will contain a writeup of the blog or author. To fill in the text, edit the about.md page. Change the title for the page in about.md
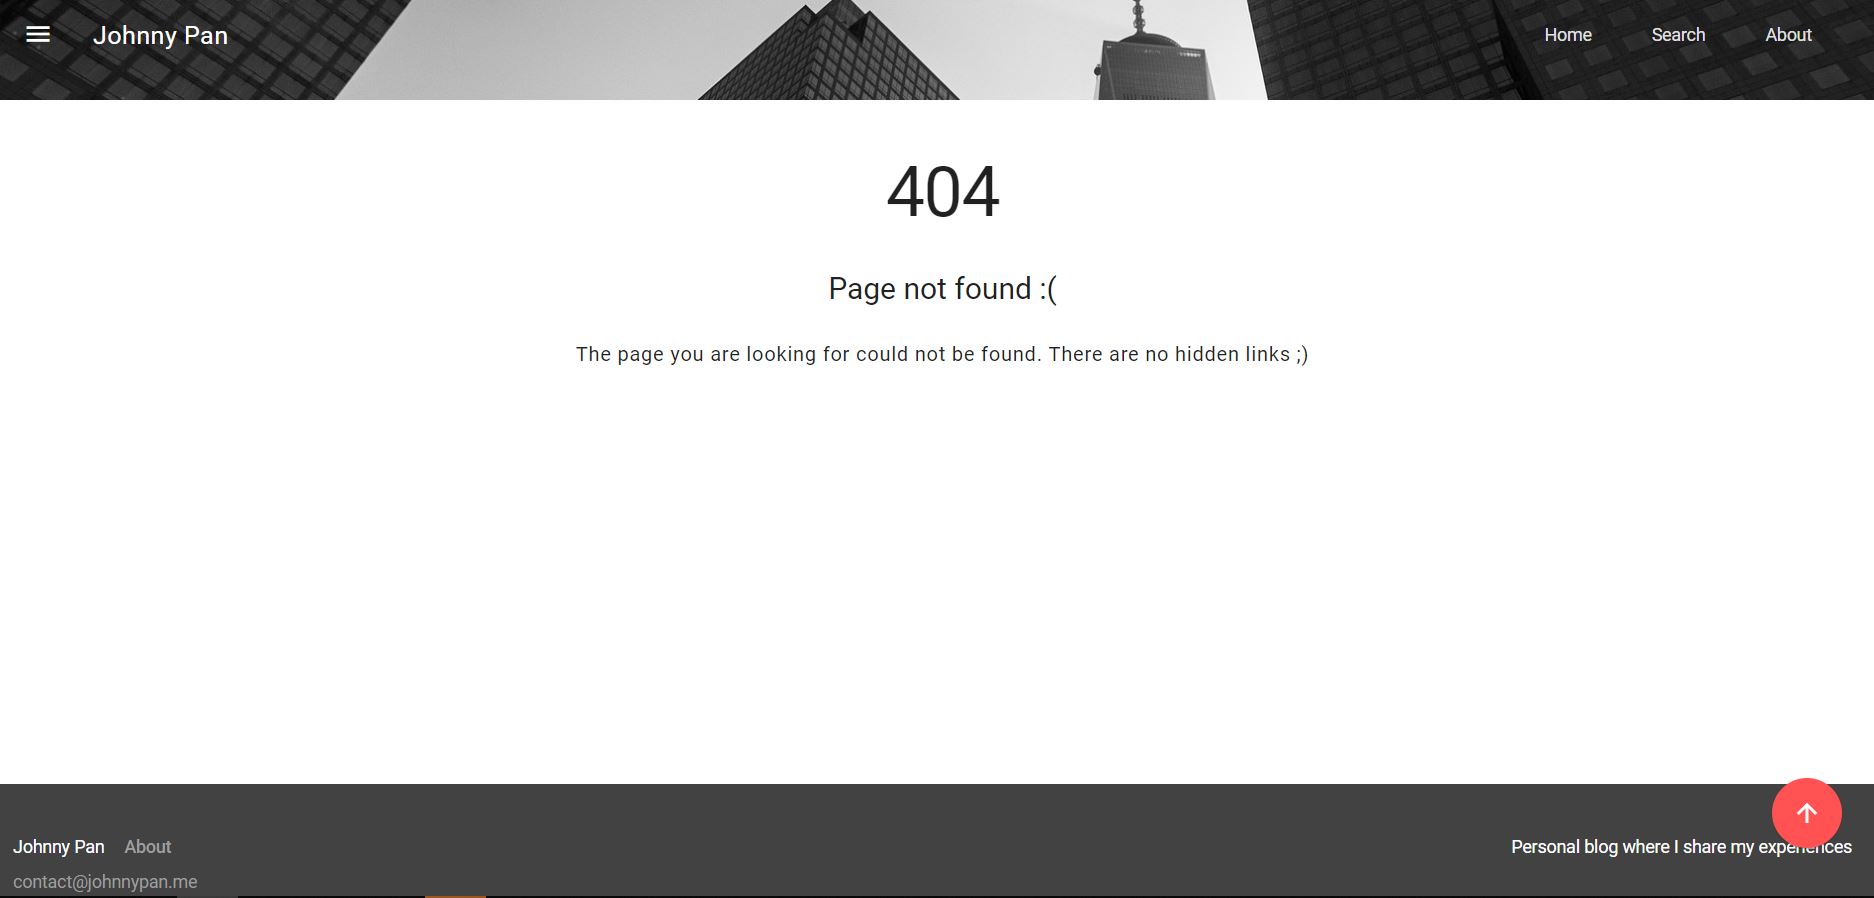
404 Page
404 error page will display when a user tries to access resources that does not exist. Change the title for the page in 404.md
_config.yml Page
Fill in the title, author, email and description accordingly. These are crucial for the blog and search engine optimization.
/assets/ Directory
This blog uses a compulsory image for every post. The photo needs to follow the naming convention YYYY-MM-DD.jpg
Any other documents (images, PDF) used in the post should be placed inside this folder.